Blog

  • Top 5 Mistakes New Herb Gardeners Make and How to Fix Them

    Top 5 Mistakes New Herb Gardeners Make and How to Fix Them

    Starting an herb garden is rewarding, but beginners often stumble over a few recurring errors. Below we highlight the five most frequent mistakes and provide clear, actionable fixes.

    1. Planting in the Wrong Soil

    Problem: Many new gardeners use heavy garden soil that retains water, leading to root rot, especially for Mediterranean herbs like rosemary and thyme.

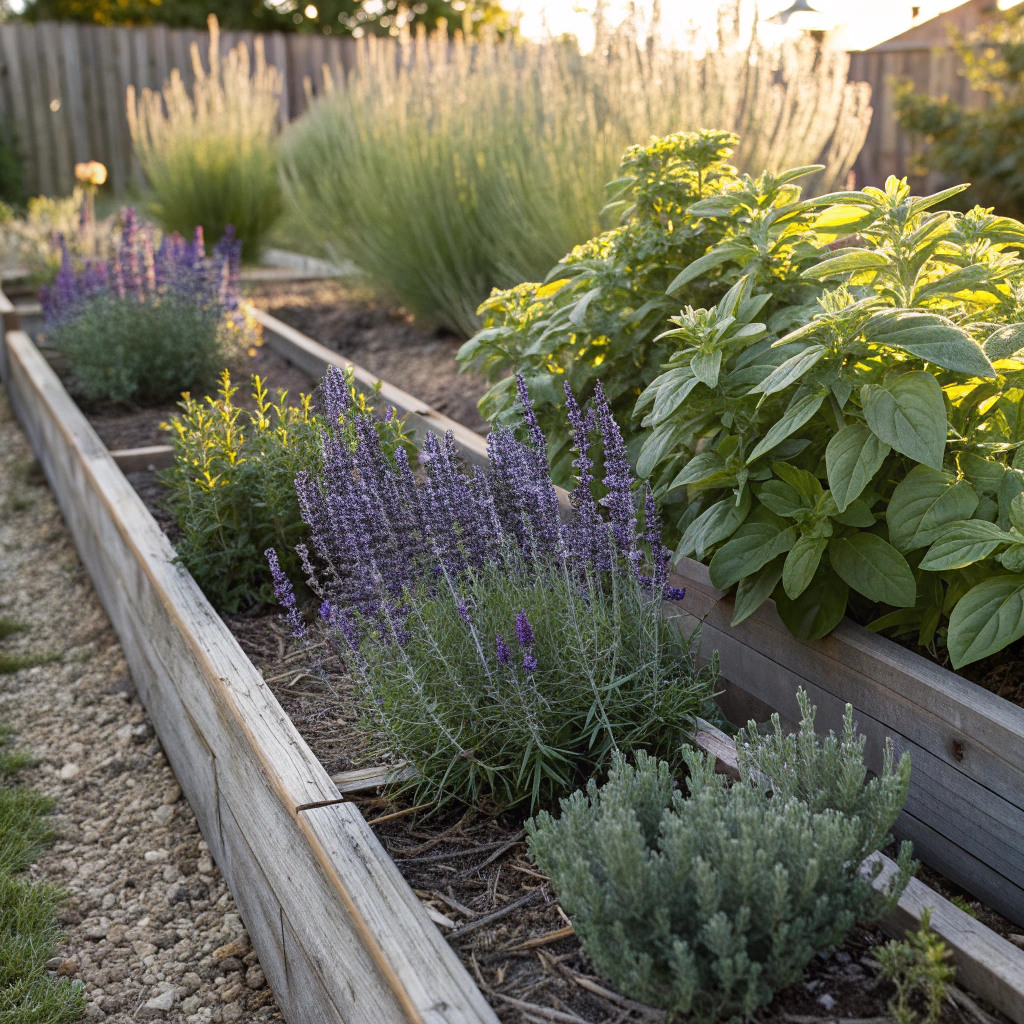
    Solution: Create a well‑draining mix by combining two parts potting soil, one part coarse sand or perlite, and one part compost. For raised beds, add a layer of gravel at the bottom to improve drainage.

    2. Overwatering or Underwatering

    Problem: Herbs are sensitive to moisture extremes. Overwatering causes fungal diseases; underwatering stresses plants and reduces flavor.

    Solution: Test soil moisture with your finger—soil should feel moist an inch below the surface but not soggy. Water deeply once a week in dry weather, and reduce frequency during cooler months.

    3. Ignoring Sunlight Requirements

    Problem: Many herbs need at least 6 hours of direct sunlight. Shade‑loving varieties (e.g., mint) are an exception.

    Solution: Observe your garden’s sun patterns. Position sun‑loving herbs (basil, oregano, rosemary) in the brightest spots, and reserve partially shaded areas for mint, parsley, or cilantro.

    4. Harvesting at the Wrong Time

    Problem: Cutting herbs too early or too late reduces flavor and can encourage early bolting.

    Solution: Harvest leaf‑type herbs just before they flower for peak essential oil content. Use the “cut‑above‑the‑node” technique to stimulate new growth. For woody herbs, prune after the first bloom.

    5. Not Managing Invasive Species

    Problem: Herbs like mint, oregano, and lemon balm spread aggressively, choking out neighboring plants.

    Solution: Plant invasive herbs in containers or in beds with deep borders. Regularly trim runners and divide plants every spring to keep them in check.

    Bonus Tip: Rotate Your Herbs

    Just like vegetables, herbs benefit from rotation. Move annual herbs (basil, cilantro) to a new spot each year to prevent soil‑borne diseases and nutrient depletion.

    Quick Fix Checklist

    • Check soil drainage; amend with sand or gravel if water pools.
    • Use a moisture meter or finger test before watering.
    • Map sun exposure; relocate sun‑hungry herbs if needed.
    • Harvest just before flowering; pinch regularly.
    • Contain aggressive growers in pots or bordered beds.

    Conclusion

    By recognizing and correcting these common mistakes, new herb gardeners can build a resilient, fragrant garden that provides fresh flavors all season long. Keep this guide handy, and revisit it whenever you expand your herb collection.
  • Seasonal Care Guide for Perennial Herbs

    Seasonal Care Guide for Perennial Herbs

    Perennial herbs such as rosemary, thyme, sage, and lavender return each spring, but they still need seasonal attention to thrive. This guide breaks down essential tasks for every month, helping you avoid common pitfalls and maximize flavor.

    January – Dormant Maintenance

    • Inspect plants for winter damage; prune back any dead wood.
    • Apply a light layer of mulch (straw or shredded leaves) to protect roots from freeze‑thaw cycles.
    • Plan next year’s garden layout; order seed or starter plants if needed.

    February – Early Prep

    • Start indoor seed trays for annual herbs that will accompany perennials later.
    • Check soil pH; amend with lime if overly acidic for rosemary and lavender.
    • Begin fertilizing with a slow‑release organic fertilizer (e.g., bone meal).

    March – Break Dormancy

    • Gradually remove mulch as soil warms.
    • Water sparingly during warm days; avoid over‑watering frozen soils.
    • Prune back overly long stems to encourage bushier growth.

    April – Growth Surge

    • Apply a balanced liquid fertilizer every 4 weeks.
    • Mulch around the base to retain moisture and suppress weeds.
    • Watch for early pests (aphids, spider mites); treat with neem oil if needed.

    May – First Harvest

    Harvest the first tender leaves of rosemary, thyme, and sage. Use the “cut‑above‑the‑node” method to promote new shoots.

    • Continue regular watering—aim for 1 inch per week.
    • Stake taller lavender plants to prevent wind damage.

    June – Mid‑Season Care

    • Thin out dense growth to improve air circulation.
    • Apply a second round of organic fertilizer if growth slows.
    • Harvest lavender buds before full bloom for optimal fragrance.

    July – Heat Management

    • Mulch heavily to keep roots cool.
    • Water early in the morning; avoid evening watering to reduce fungal risk.
    • Check for signs of sunburn on rosemary leaves; provide temporary shade if needed.

    August – Late Summer Harvest

    Collect larger batches of sage and thyme for drying. Preserve excess rosemary by freezing in oil.

    • Remove any seed heads that appear to keep the plant vegetative.
    • Inspect for root rot, especially in heavy soils; improve drainage if necessary.

    September – Preparing for Fall

    • Reduce fertilizer applications; switch to a high‑potash formula to strengthen roots.
    • Begin light pruning of lavender to shape plants for next year.
    • Harvest the final lavender blooms and dry them promptly.

    October – Final Harvest and Clean‑up

    • Collect the last leaves of sage and thyme before frost.
    • Clear fallen leaves and debris to prevent overwintering pests.
    • Apply a thick mulch layer (2‑3 inches) for winter insulation.

    November – Winter Protection

    • Cover tender rosemary and lavender with burlap or frost cloth during extreme cold snaps.
    • Check moisture levels; water sparingly if the soil is dry.

    December – Review and Reflect

    • Take notes on which varieties performed best.
    • Plan any garden redesigns for the upcoming year.

    Quick Reference Table

    Month Key Tasks
    Jan Prune dead wood, mulch, plan
    Feb Indoor seed start, soil test, fertilize
    Mar Remove mulch, water sparingly, prune
    Apr Fertilize, mulch, pest watch
    May First harvest, regular watering
    Jun Thin growth, second fertilize, harvest lavender
    Jul Mulch, morning water, shade if needed
    Aug Late harvest, prevent seed set, check rot
    Sep Reduce fertilizer, prune lavender, high‑potash
    Oct Final harvest, clean‑up, thick mulch
    Nov Winter cover, occasional water
    Dec Review performance, plan next year

    Conclusion

    Following this month‑by‑month schedule ensures your perennial herbs stay vigorous, productive, and ready to delight you with fresh flavors year after year. Happy gardening!

  • DIY Herbal Tea Blends for Every Season

    DIY Herbal Tea Blends for Every Season

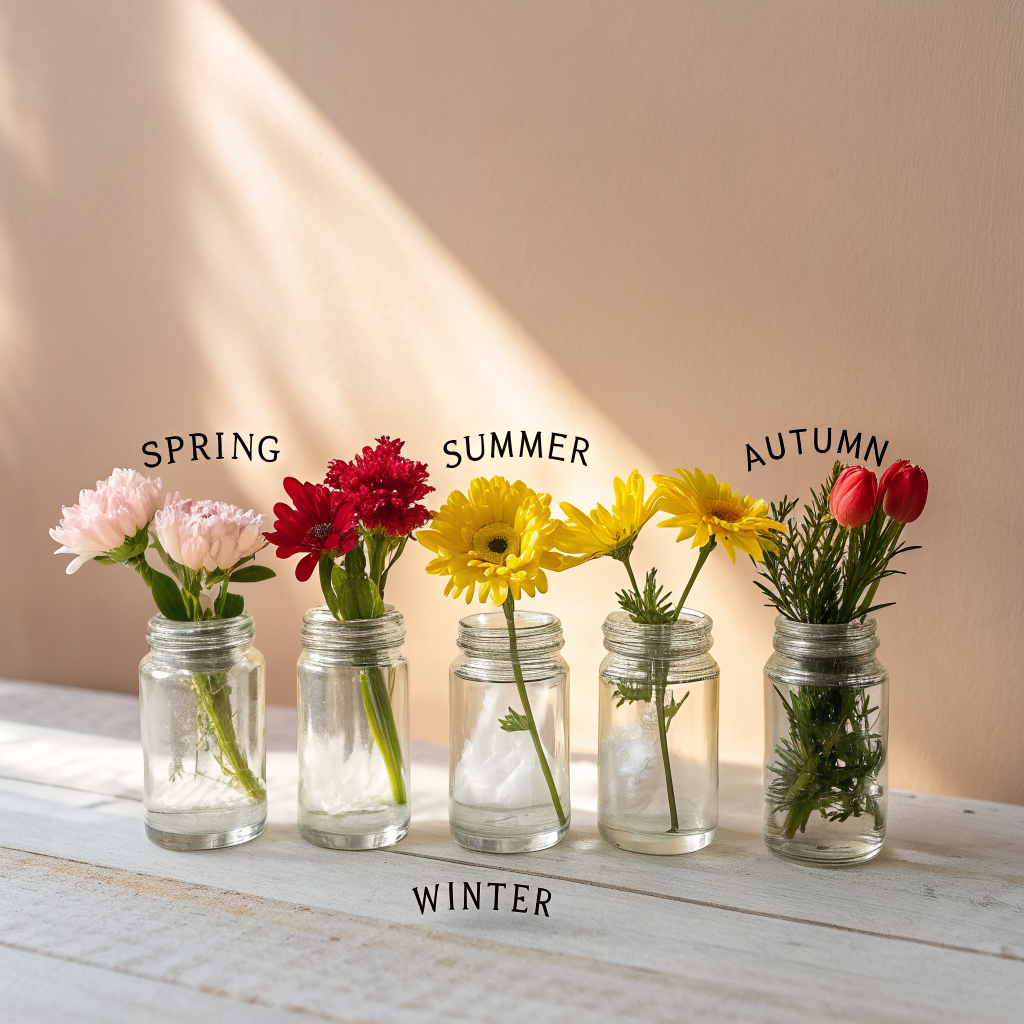
    Herbal teas are a comforting way to enjoy the bounty of your garden year‑round. Below are four seasonal blends, each featuring herbs that thrive during that time of year. All ingredients are dried unless otherwise noted.

    Spring Awakening Blend

    • 2 parts dried lemon balm
    • 1 part dried chamomile
    • 1 part dried peppermint
    • ½ part dried rose petals (optional)

    Method: Mix herbs in a glass jar, shake gently. Use 1‑2 teaspoons per cup of hot water, steep 5‑7 minutes. Benefits include gentle digestion support and a fresh, uplifting aroma.

    Summer Cooling Brew

    • 3 parts dried hibiscus flowers
    • 2 parts dried mint
    • 1 part dried lemongrass
    • ½ part dried lavender buds

    Method: Combine ingredients, then steep 1‑2 teaspoons in boiling water for 4 minutes. Serve hot or chilled over ice with a slice of lemon. This blend is hydrating, antioxidant‑rich, and perfect for hot days.

    Autumn Warmth Mix

    • 2 parts dried cinnamon bark (break into small pieces)
    • 2 parts dried apple peel
    • 1 part dried ginger root (thinly sliced)
    • 1 part dried sage

    Method: Blend, then steep 1‑2 teaspoons in hot water for 6‑8 minutes. Sweeten with honey if desired. The spices promote circulation and comfort as temperatures drop.

    Winter Immunity Tonic

    • 2 parts dried echinacea root
    • 1 part dried elderberries
    • 1 part dried rosemary
    • ½ part dried thyme

    Method: Simmer 1‑2 teaspoons in 1 cup of water for 10 minutes, then strain. Add a splash of orange juice for extra vitamin C. This robust blend supports the immune system during cold months.

    Blending Tips for Success

    • Dry Thoroughly: Ensure herbs are completely dry before storing to prevent mold.
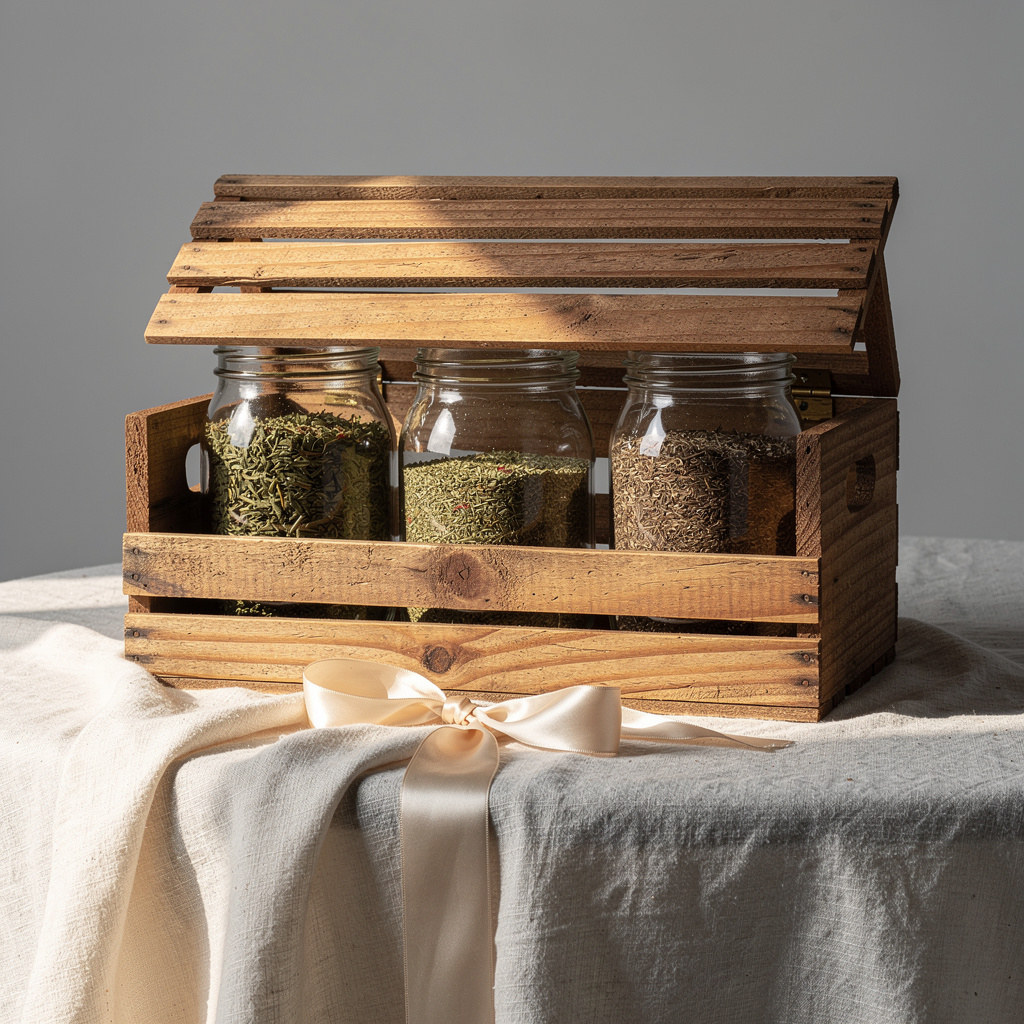
    • Airtight Storage: Keep blends in dark glass jars to protect volatile oils.
    • Label Clearly: Write the blend name and date on each jar; most dried herbs retain potency for 12‑18 months.
    • Adjust Ratios: Taste your blend and modify the proportions to suit personal preference.

    Health Disclaimer

    While these blends are generally safe, consult a healthcare professional if you are pregnant, nursing, or have chronic health conditions. Some herbs may interact with medications.

    Conclusion

    Creating your own herbal teas lets you harness the flavors and benefits of your garden while customizing each cup to the season. Experiment with these recipes, add your own favorite herbs, and enjoy a soothing ritual all year long.

  • Lavender Uses From Garden to Home

    Lavender Uses From Garden to Home

    Lavender is more than a pretty flower; its soothing scent and versatile properties make it a favorite among gardeners, cooks, and wellness enthusiasts. This post covers cultivation basics, harvesting, and a range of practical uses.

    Choosing the Right Lavender Variety

    Three main types suit home gardeners:

    • English Lavender (Lavandula angustifolia): Sweet fragrance, ideal for culinary use.
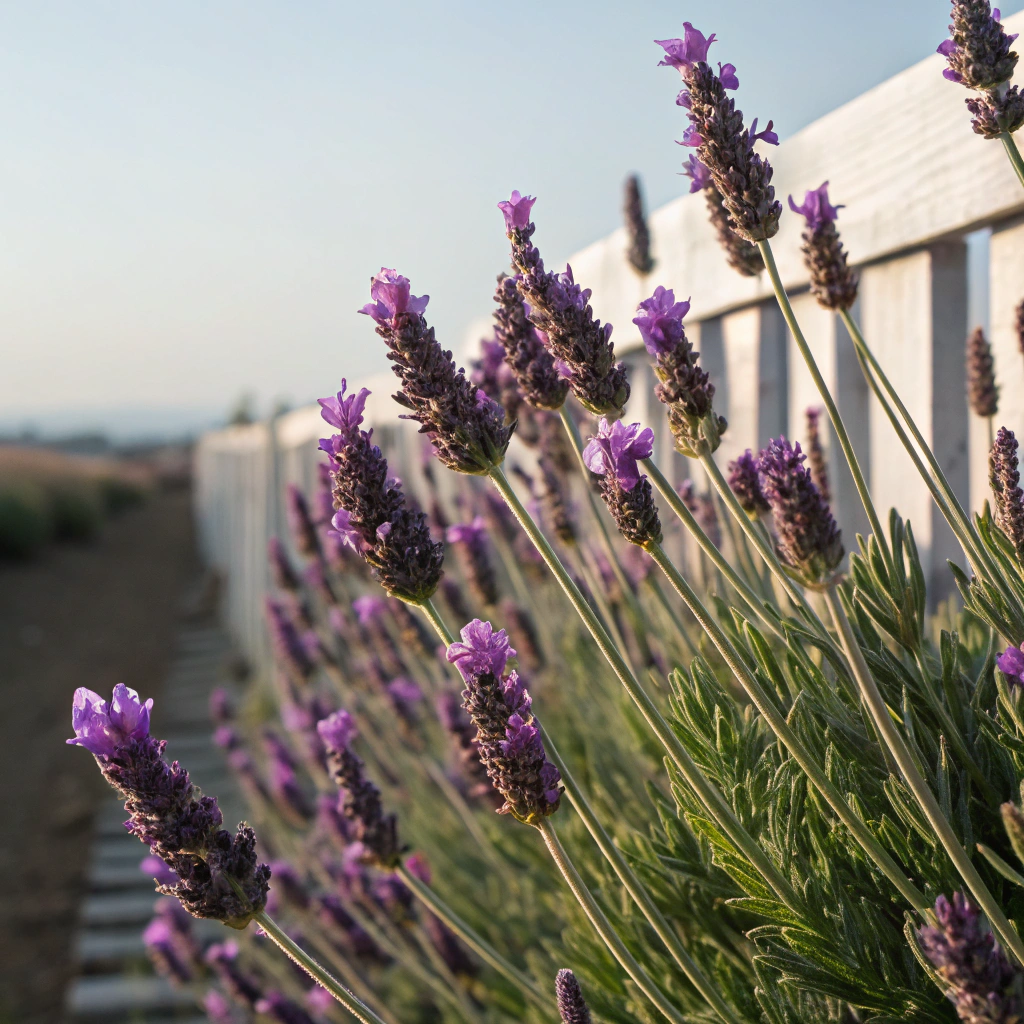
    • French Lavender (Lavandula dentata): Decorative, with toothed leaves and a milder scent.
    • Spanish Lavender (Lavandula stoechas): Showy “rabbit ear” bracts, great for ornamental borders.

    Planting and Care

    1. Sunlight: Minimum 6‑8 hours of direct sun daily.
    2. Soil: Well‑draining, slightly alkaline (pH 6.5‑7.5). Add sand or gravel if soil is heavy.
    3. Spacing: Plant 2‑3 feet apart to allow air circulation.
    4. Watering: Water deeply at planting, then sparingly; lavender prefers dry roots.
    5. Pruning: After the first bloom, trim back 1/3 of the plant to encourage a second flush.

    Harvesting Lavender

    Harvest when buds are fully formed but before they open. Cut stems early in the morning, then bundle and hang upside down in a dark, dry area. Dry for 1‑2 weeks until buds feel papery.

    Culinary Applications

    • Tea: Steep 1‑2 teaspoons of dried buds in hot water for 5 minutes.
    • Baked Goods: Add a pinch of ground lavender to cookies, scones, or shortbread for a floral note.
    • Herb Blends: Combine with rosemary and thyme for a fragrant rub on roasted chicken.

    Medicinal and Wellness Uses

    Lavender’s calming properties are well documented. Here are three simple home remedies:

    1. Relaxing Pillow Spray: Mix 1 cup distilled water, 2 tbsp dried lavender, and a few drops of lavender essential oil. Shake and spray on pillows before bedtime.
    2. Soothing Bath Salts: Combine Epsom salt, dried lavender, and a few drops of essential oil for a relaxing soak.
    3. Minor Skin Irritations: Infuse dried buds in carrier oil (olive or almond) for 2 weeks, then apply topically to soothe insect bites.

    Decorative Ideas

    • Dry Flower Arrangements: Use whole stems in wreaths or vase displays.
    • Potpourri: Blend dried lavender with citrus peels and rosemary for a natural room freshener.
    • Garden Borders: Plant low‑lying lavender along pathways for color and fragrance.

    Common Problems and Solutions

    • Root Rot: Ensure soil drains well; avoid over‑watering.
    • Leaf Spot: Remove affected leaves and improve air flow.
    • Leggy Growth: Prune back annually and increase sunlight exposure.

    Conclusion

    From soothing teas to fragrant sachets, lavender offers endless possibilities. By selecting the right variety, providing proper care, and harvesting at the peak of fragrance, you can enjoy a garden that delights the senses and serves practical purposes throughout the year.

  • Harvesting and Storing the 20 Essential Herbs

    Harvesting and Storing the 20 Essential Herbs

    Knowing when and how to harvest herbs is just as important as growing them. Proper timing preserves essential oils, while correct storage extends shelf life. Below is a concise reference for the 20 herbs featured on Herb Guide.

    General Harvest Guidelines

    • Timing: Harvest in the morning after dew dries but before the sun intensifies, when oil concentrations peak.
    • Tools: Use sharp scissors or garden shears to make clean cuts, reducing plant stress.
    • Leaves vs. Stems: For most herbs, leaf harvest is preferred; for woody herbs (rosemary, thyme), stem harvest works well.

    Specific Herb Instructions

    Herb Best Harvest Time Drying Method Storage Tips
    Basil Just before flowering Air‑dry in a single layer, out of direct sunlight Store in airtight glass jars, away from heat
    Mint Early summer, before seed set Bundle and hang upside down in a dark, ventilated area Keep in a sealed container with a desiccant packet
    Rosemary Mid‑summer, when needles are deep green Hang in bunches, dry 1‑2 weeks Crush lightly before storage to release aroma
    Thyme After the first flush of flowers Air‑dry on a mesh screen Store in a dark pantry, use within 12 months
    Lavender Full bloom, before seed pods form Hang in bundles, keep away from moisture Store in breathable bags to avoid mold
    Oregano When plant is flowering Dry on a screen in low light Seal in vacuum‑packed bags for long‑term use
    Sage Late summer, before seed heads appear Hang upside down in a warm, dry room Keep in a cool, dark cupboard
    Parsley When leaves are fully expanded, before bolting Rinse, pat dry, spread on a tray Freeze chopped for up to 6 months
    Cilantro Just before it bolts Air‑dry quickly; cilantro loses flavor fast Freeze in ice‑cube trays with water
    Chamomile Full bloom, white petals fully open Dry in a single layer on parchment Store in airtight tins, away from light
    Dill When flower heads are small and fluffy Hang in bundles, dry 1 week Keep in a sealed jar, use within 9 months
    Fennel Before seed heads turn brown Dry fronds on a screen Store whole or crushed in a cool pantry
    Lemon Balm Mid‑summer, before flowering Air‑dry in shade Store in a glass jar with a tight lid
    Marjoram Just after first flowering Hang in small bundles Keep in a dark drawer, away from moisture
    Bay Leaf Late summer, when leaves are deep green Air‑dry whole branches Store whole leaves in a sealed container
    St. John’s Wort When flowers are fully open Dry on a screen in a well‑ventilated room Store in amber glass bottles
    Yarrow When flower heads are flat and dry Hang upside down Keep in a cool, dry pantry
    Catnip Before seed set Bundle and hang in shade Freeze in zip‑lock bags for best potency
    Wintergreen Late summer, before berries mature Air‑dry leaves on a mesh Store in a dark glass jar
    Holy Basil (Tulsi) Early morning, before flowering Dry in a ventilated area, avoid direct sun Keep in airtight containers, use within 12 months

    Tips for Maintaining Potency

    • Avoid heat: High temperatures degrade essential oils.
    • Limit light exposure: Store in opaque containers or dark cabinets.
    • Control humidity: Use silica packets in jars to prevent mold.

    Using Fresh vs. Dried Herbs

    Fresh herbs deliver brighter, more volatile flavors, ideal for salads, sauces, and teas. Dried herbs are concentrated; use about one‑third the amount called for fresh. Re‑hydrate dried leaves in warm water for a minute before adding to soups for a smoother texture.

    Conclusion

    By following these harvest and storage guidelines, you’ll preserve the full aroma, flavor, and medicinal qualities of each of the 20 essential herbs, ensuring a year‑round pantry of garden‑grown goodness.

  • Companion Planting Herbs That Boost Vegetable Health

    Companion Planting Herbs That Boost Vegetable Health

    Companion planting is a time‑tested method that uses plant relationships to enhance growth, deter pests, and improve flavor. Herbs are especially valuable allies because many release aromatic compounds that confuse insects or attract beneficial predators.

    How Companion Planting Works

    Plants communicate through root exudates, volatile oils, and even by altering soil pH. By pairing compatible species, gardeners can create a micro‑ecosystem that reduces the need for synthetic chemicals.

    Top Herb‑Vegetable Pairings

    • Basil + Tomatoes: Basil repels aphids, whiteflies, and tomato hornworms while enhancing tomato flavor.
    • Chamomile + Brassicas (cabbage, broccoli): Chamomile attracts beneficial insects and improves the taste of cabbage family crops.
    • Mint + Cabbage: Mint’s strong scent deters cabbage moths and slugs.
    • Dill + Cucumbers: Dill attracts predatory insects that eat cucumber beetles and improves cucumber vigor.
    • Rosemary + Beans: Rosemary’s woody scent repels bean beetles and adds a subtle flavor to beans when interplanted.

    Designing a Companion Garden

    When planning your layout, keep these principles in mind:

    1. Spacing: Allow at least 12 inches between herbs and vegetables to prevent competition for nutrients.
    2. Height hierarchy: Place taller herbs (rosemary, sage) on the north side of lower‑growing vegetables to avoid shading.
    3. Seasonal timing: Plant fast‑growing herbs like basil early so they establish before the main vegetable crop.
    4. Contain invasive herbs: Mint spreads aggressively; confine it in a pot or a bordered bed.

    Benefits Beyond Pest Control

    Companion herbs also improve soil structure. For example, chamomile adds organic matter and attracts pollinators, while dill’s deep taproots break up compacted soil, enhancing water infiltration.

    Practical Tips for Success

    • Rotate crops: Move herb‑vegetable pairings each season to prevent soil‑borne diseases.
    • Mulch with herb clippings: After harvesting, spread chopped herb leaves around vegetables to suppress weeds and recycle nutrients.
    • Observe and adjust: Keep a garden journal noting pest activity and plant vigor; tweak pairings based on real‑world results.

    Conclusion

    Integrating herbs as companions is a low‑cost, eco‑friendly strategy that rewards gardeners with healthier plants and richer harvests. Start with a few easy pairings—basil with tomatoes or dill with cucumbers—and watch your garden flourish.

  • Growing Basil From Seed To Harvest

    Growing Basil From Seed To Harvest

    Basil is a kitchen staple and one of the easiest herbs for beginners. This guide walks you through every stage—from sowing seeds indoors to enjoying a bountiful harvest outdoors.

    Why Basil Is a Great First Herb

    Basil thrives in warm weather, tolerates a range of soils, and rewards gardeners with aromatic leaves that enhance sauces, salads, and teas. Its rapid growth also provides quick visual feedback, keeping new growers motivated.

    Starting Seeds Indoors

    • Timing: Begin seeds 6–8 weeks before the last frost date in your region.
    • Containers: Use 2‑inch seed‑starting trays or peat pots with drainage holes.
    • Soil: Fill with a light, sterile seed‑starting mix.
    • Sowing: Scatter seeds thinly, cover with a thin layer of soil (about ¼ inch), and gently press down.
    • Moisture: Mist lightly and keep the medium consistently moist but not soggy.
    • Light: Place trays on a sunny windowsill or under grow lights (12‑14 hours per day).

    Transplanting Outdoors

    When seedlings have 2–3 true leaves and the night temperature stays above 50°F (10°C), they are ready for the garden.

    1. Hardening off: Over 5‑7 days, move seedlings outdoors a few hours each day, increasing exposure gradually.
    2. Site selection: Choose a spot with full sun (6‑8 hours) and well‑draining soil.
    3. Soil preparation: Amend with compost or aged manure to improve fertility.
    4. Spacing: Plant 12‑18 inches apart to allow airflow.
    5. Watering: Water deeply after planting and keep soil evenly moist.

    Care Throughout the Season

    Regular maintenance keeps basil productive:

    • Pinching: Remove the top set of leaves once the plant reaches 6 inches to encourage branching.
    • Fertilizing: Apply a balanced liquid fertilizer every 4‑6 weeks if soil is poor.
    • Pest watch: Look for aphids and spider mites; treat with insecticidal soap if needed.
    • Mulching: A thin layer of straw helps retain moisture and suppress weeds.

    Harvesting Tips

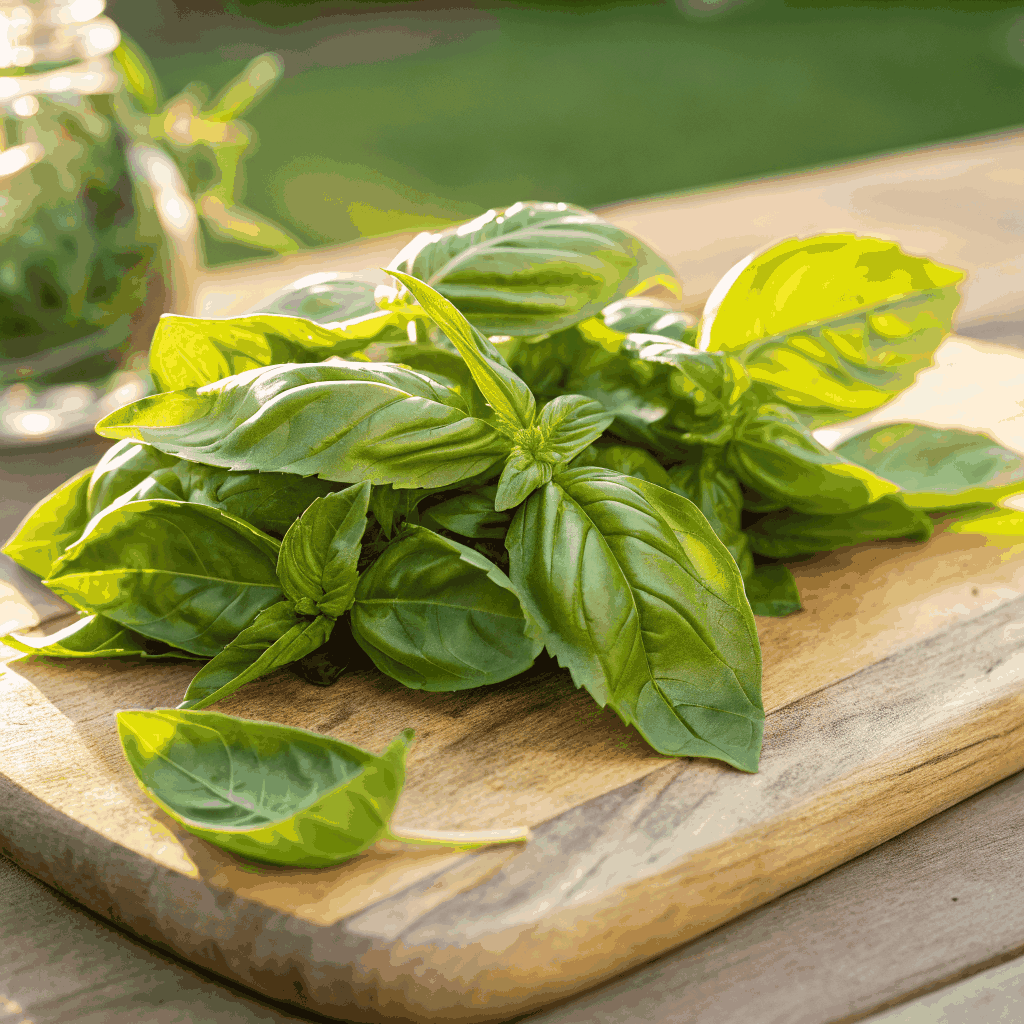
    Harvest leaves early in the morning when oils are most concentrated. Cut just above a leaf node, leaving at least two sets of leaves on the stem. Regular harvesting prevents the plant from flowering, which can turn leaves bitter.

    Storing Fresh Basil

    To keep basil fresh for up to a week:

    1. Trim stems and place them in a jar of water, covering loosely with a plastic bag.
    2. Store in the refrigerator, changing water every 2 days.
    3. For longer storage, blanch leaves, shock in ice water, pat dry, and freeze in airtight bags.

    Conclusion

    With these simple steps, even a novice gardener can enjoy a continuous supply of fragrant basil. Experiment with varieties like Sweet, Thai, or Purple Basil to add visual interest and flavor diversity to your garden.